Reformer Studio Safety: A Complete Operational Guide
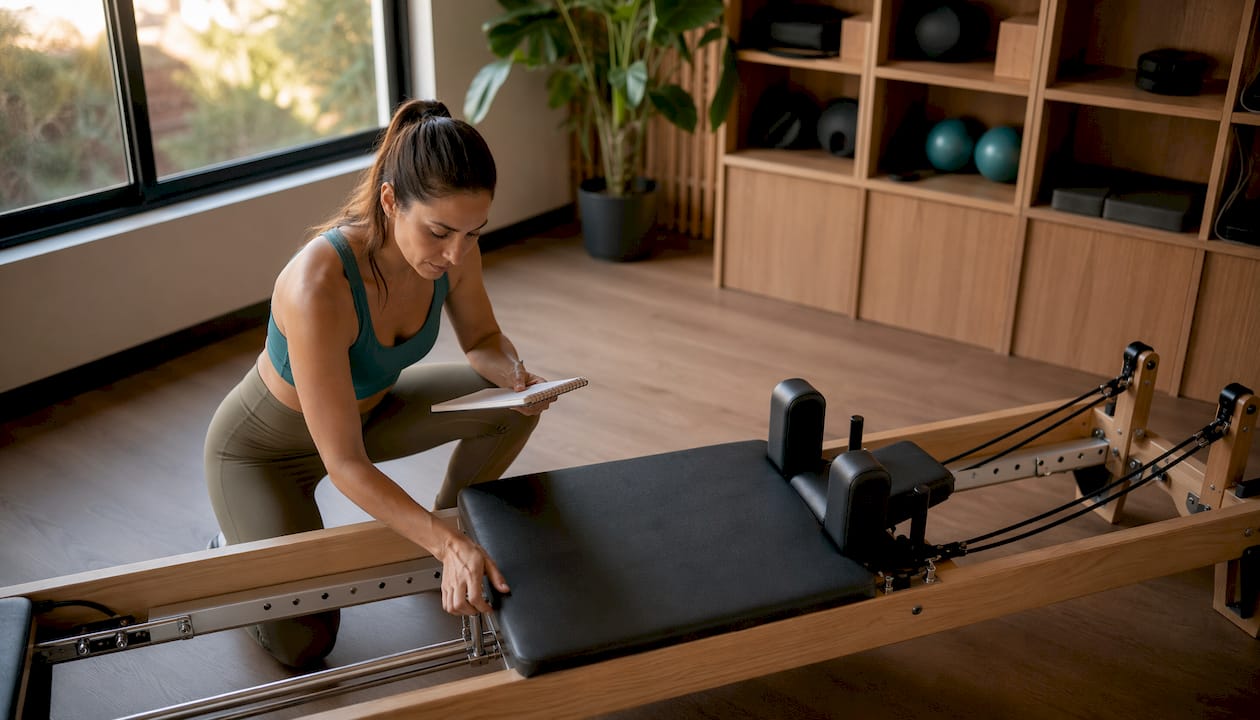
Reformer Studio Safety: A Complete Operational Guide
Reformer studio safety depends on three immediate actions: pre-class inspection, standardized equipment adjustments, and systematic maintenance logging. If you are responsible for a studio, these three priorities are not optional; they are the difference between an incident-free class and a claim to your insurer.
Apply these five actions within the next 24–72 hours:
- Standard pre-class inspection. Before the first student enters, check the stopper, foot bar, springs, and straps on each machine. Listen for the audible "clack" when the bar locks into place; if it doesn't sound, the machine is not to be used in class.
- Keep at least one spring attached when not in use. When no student is on the carriage, leave a medium resistance spring attached to prevent accidental abrupt movements.
- Standardize the stopper and tension bar positions. Define a starting configuration by level (beginner, intermediate, advanced) and write it on the instructor's card. Without a written standard, each instructor adjusts differently.
- Quick staff training. Dedicate 20 minutes this week to review critical points with your instructors: how to check anchor points, how to guide students getting on and off, and what to do if they detect a fault.
- Log incidents immediately. Any abnormal noise, looseness, or minor fall should be noted at the moment: date, instructor, description, photo, and action taken. Royal Decree 486/1997 requires maintaining equipment in safe conditions and documenting inspections; this log is your legal support.
Place this list in a visible spot in the studio and on each instructor's card. Pilates de México can advise you on which equipment includes technical support and maintenance documentation from day one.
Table of Contents
- What are the most frequent injury mechanisms on the reformer?
- Equipment as the first line of defense
- Operational Checklist: Pre-Class Inspection and Incident Logging
- What instructor-to-student ratio ensures safe supervision?
- Preventive Maintenance and Logging: Your Main Protection Against Claims
- How to Safely Adjust Straps, Stopper, and Resistance
- Frequent Instructor Errors and How to Avoid Them
- What Features Define a Safe Reformer for a Professional Studio?
- Key Points
- Integrated Safety is Not a Cost, It's an Operational Advantage
- Equipment, Financing, and Consulting for Your Reformer Studio
- Sources and Regulatory Resources
What are the most frequent injury mechanisms on the reformer?
The three mechanisms that generate most incidents in the studio are uncontrolled carriage displacement, falls when getting on or off the machine, and entrapment in springs or cables. Knowing them allows you to prioritize specific controls instead of applying generic measures.
Uncontrolled carriage displacement. This occurs when the student loses muscle tension or the instructor changes the spring configuration without warning. The carriage moves abruptly and the student loses balance or suffers hyperextension. The direct control is to keep at least one medium resistance spring attached whenever the user is on the platform, and never remove all springs at once.
Falls when getting on or off. This transition moment concentrates a disproportionate percentage of incidents because the student is not in a working position and the instructor is usually looking at another machine. The countermeasure is an explicit verbal protocol: the instructor indicates when to get on and off, and the student confirms before moving.
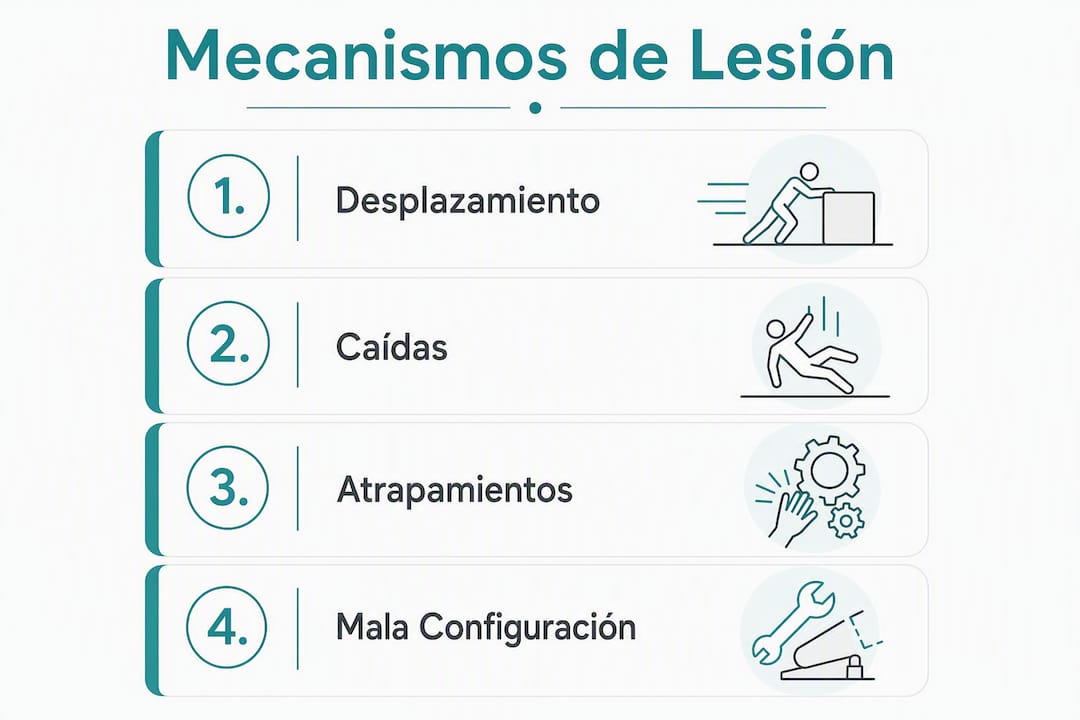
Entrapment in springs and cables. Fingers and loose clothing are the main affected areas. This happens when the student adjusts springs without guidance or when straps are poorly positioned during exercise. Checking strap placement before each set and wearing fitted clothing are the most direct measures.
Equipment as the first line of defense
The components that most influence operational safety are the spring system, the carriage stopper, the foot bar, the rails, and the straps. Each can be a barrier or a point of failure depending on its condition and configuration.
- Springs: Visually inspect the hook and body of the spring before each class. A spring with visible deformation or a bent hook should be taken out of service that same day.
- Carriage Stopper: Verify that it engages firmly and does not give way under manual pressure. Professional models offer up to six adjustment positions; standardize which corresponds to each student level.
- Foot Bar: Check for audible engagement ("clack") and stability before loading body weight. Do not rely solely on visual inspection; engagement must be physically verifiable.
- Rails and Track: Clean and lubricate according to the manufacturer's schedule. A rail with accumulated dirt generates irregular resistance and can cause abrupt movements.
- Straps: Check seams and buckles every session. A worn seam is not always visible to the naked eye; run your finger over the joint between the strap and buckle to detect fraying.
Physical protections complement the technical review. Spring covers reduce the risk of finger and clothing entrapment; anti-vibration mats under the machine prevent displacement on smooth floors. For classes with beginners, also consider marking recommended stopper positions directly on the machine with colored tape.
New reformer designs prioritize reducing exposed parts and more intuitive adjustments, which decreases operational friction and increases user autonomy from the first class.
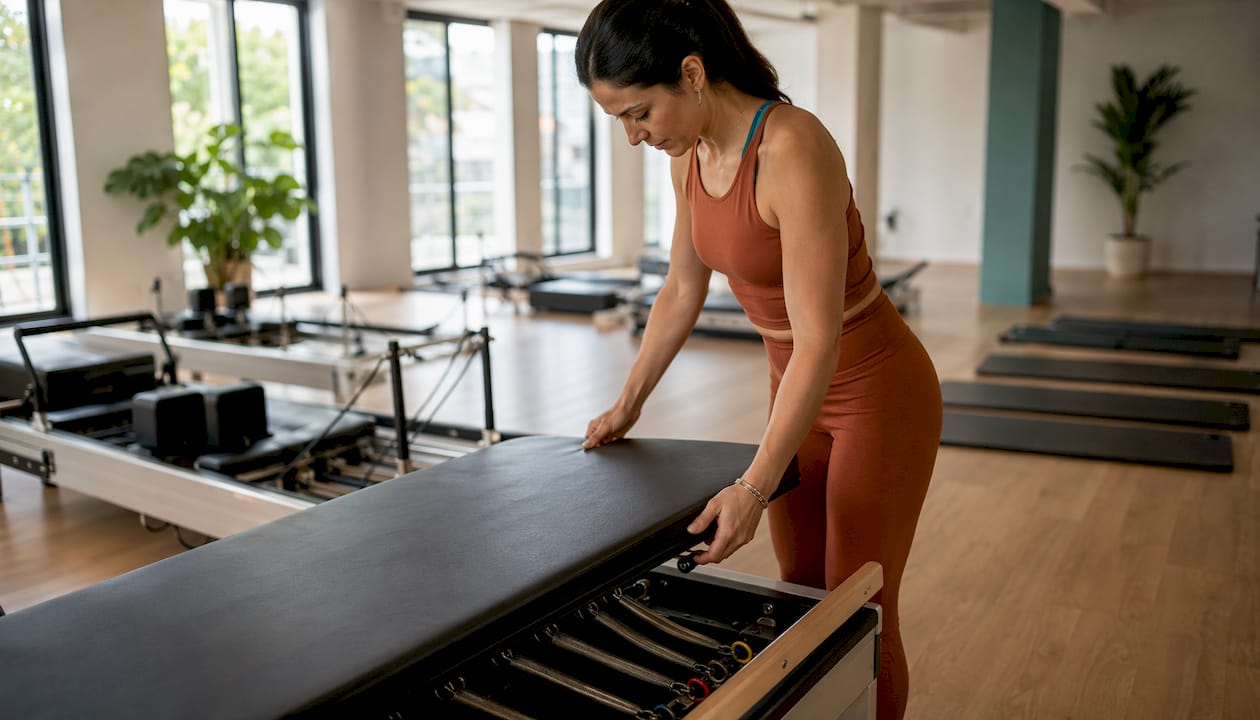
Pro Tip: When evaluating a reformer for your studio, ask the supplier if the spring system has an integrated cover and if the stopper adjustments are numbered or marked. These two details reduce the margin for human error more than any subsequent protocol.
Operational Checklist: Pre-Class Inspection and Incident Logging
An effective pre-class inspection takes no more than three minutes per machine. The key is that it is systematic, not improvised.
Pre-class checklist (per machine, before each class):
- Carriage Stopper: engage and verify it does not give way under pressure.
- Foot Bar: place in standard position, listen for the "clack" and push laterally to confirm stability.
- Springs: visual inspection of hooks and body; confirm the number of springs matches the class configuration.
- Straps: check seams, buckles, and symmetrical length on both sides.
- Hygienic Cleaning: disinfect carriage, straps, and bar with appropriate product; allow to dry before use.
- Clearance: confirm at least 60 cm of circulation space on the sides and 90 cm at the head and foot of each machine.
Mid-shift review checklist:
| Element | What to verify | Action if anomaly |
|---|---|---|
| Springs | Deformation, noise when moving the carriage | Remove spring and log |
| Stopper | Locking function under load | Take machine out of service |
| Rails | Dirt, irregular glide | Clean and lubricate immediately |
| Straps | Visible wear on seams | Replace before next class |
| Space | Objects in circulation area | Remove immediately |
Quick incident report template:
Each incident logs: date and time, instructor's name, affected machine (number or studio position), description of the fault or incident, attached photograph, and action taken. The log is stored in a physical folder in the studio and as a digital copy. The studio manager reviews it every Monday; if there are three incidents on the same machine in a month, that machine undergoes technical review before being used again.
What instructor-to-student ratio ensures safe supervision?
The appropriate ratio depends on the type of class and the students' level. As an operational reference:
- Private class: 1 instructor per 1 student. No exceptions for students with pathologies or in their first sessions.
- Semi-private class: 1 instructor per 2–3 students, provided all have prior experience with the machine.
- Small group: 1 instructor per 4–6 students, only with intermediate or advanced students and a studio designed for direct vision of all machines.
The instructor's positioning is as important as the number. Position yourself at the end of the reformer row, never in the center, to maintain a direct line of sight over all carriages simultaneously. From this position, you can intervene quickly at any machine.
- Leave aisles of at least 90 cm between reformers for quick access in an emergency.
- Place machines for new students closer to your usual instruction position.
- Install visible signage with studio rules: prohibition of children and pets in the machine area, requirement for fitted clothing, and protocol for getting on and off.
- Place a sign with emergency numbers and the first aid kit location at a visible point from any machine.
Signage does not replace verbal instruction but reinforces habits and reduces repetitive questions that distract the instructor during class.
Preventive Maintenance and Logging: Your Main Protection Against Claims
Documented maintenance is the most solid strategy for managing civil liability in a studio. If a student suffers an injury and your insurer or a court requests evidence that the equipment was in good condition, the maintenance log is your only concrete support. Without it, the burden of proof falls on you.
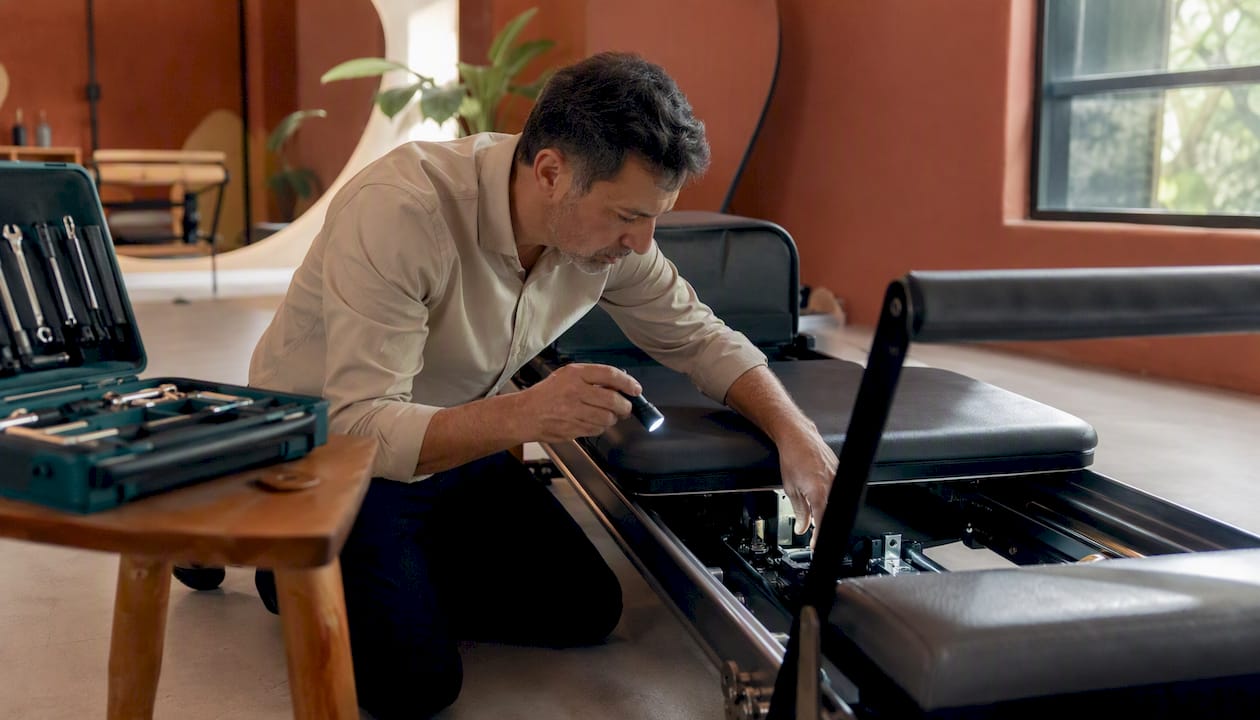
NTP 577 from INSST recommends integrating safety and maintenance reviews into a documented preventive system in accordance with the Law on Prevention of Occupational Risks. Applying this framework to your studio does not require a complex system; it requires consistency.
Suggested maintenance schedule:
| Frequency | Task | Responsible |
|---|---|---|
| Daily | Cleaning and visual inspection of springs, stopper, and straps | Instructor on duty |
| Weekly | Rail inspection, lubrication if applicable, screw check | Studio manager |
| Monthly | Complete inspection of structure, straps, and spring system; photographic record | Manager or technician |
| Annually | Technical review by authorized manufacturer service; replacement of worn parts | External technician |
Each intervention is recorded with the date, responsible person, description of the task, and observations. If a part is replaced, the reference number and supplier are noted. This level of detail is what distinguishes a useful record for an audit from one that only covers appearances.
Industrial safety experts point out that degradation due to intensive use can invalidate the original safety conditions of equipment, even when it appears to be in good visual condition.
How to Safely Adjust Straps, Stopper, and Resistance
Poorly executed adjustments are the most frequent cause of instability during exercise. Following a fixed order before each set eliminates most of these errors.
- Verify the foot bar's anchor point. Place it in the position indicated for the exercise, push with both hands, and listen for the "clack." If it does not sound or gives way, stop the class on that machine.
- Decide the stopper position according to the student. Consider height, hip mobility, and any postural pathologies. Adjusting the configuration according to the client's physical needs before each exercise is part of the teaching protocol, not an extra. Some models allow up to six stopper positions and three for the tension bar; document which corresponds to each student profile.
- Attach the springs in the correct order. Always start with the highest resistance spring and add or remove others with the carriage locked. Never change springs with the student on a moving carriage.
- Place the straps symmetrically. The length must be equal on both sides; a difference of more than one hole creates lateral imbalance. Verify strap placement before the first repetition of each new exercise.
- Ask the student to perform a test repetition. Observe the carriage's travel: if there is noise, vibration, or lateral movement, stop and check before continuing.
Pro Tip: If the carriage produces a dry or irregular noise during the test repetition, do not attribute it to the student's technique without first checking the rail and springs. A new noise from a machine that was previously silent is always a signal for review, not postural correction.
Frequent Instructor Errors and How to Avoid Them
Supervision failures are not usually serious oversights; they are habits that take hold when routine replaces protocol.
- Not checking anchor points before class. The instructor assumes the machine is as it was left after the previous session. Solution: pre-class inspection is mandatory even if you are the only one using that machine.
- Allowing the student to remove all springs. Without resistance, the carriage moves with any minimal impulse. Always keep at least one spring attached when the student is on the platform.
- Lack of verbal communication before getting on or off. The student moves on their own initiative and the instructor is not in a position to assist. Establish a clear verbal signal ("ready to get off") and wait for confirmation before the student moves.
- Poor strap placement. Straps that are too long create asymmetrical tension; straps that are too short limit range and force compensations. Training students in basic strap adjustment reduces errors and frees up instructor supervision time.
- Instructor position that limits vision. Being with your back to a machine for more than 10 seconds is enough time for an incident to occur. Always move in an arc, never with your back to students.
- Not updating training. An instructor who has not reviewed safety protocols in more than a year is working with criteria that may be outdated. Schedule at least one semi-annual update session with the entire team.
What Features Define a Safe Reformer for a Professional Studio?
Buying right from the start reduces maintenance costs and operational risk for years. Before finalizing any purchase, review these points:
- Structural robustness: verify the load capacity declared by the manufacturer. Many professional reformers support around 120 kg; confirm the model specification before using it in classes with jump exercises or dynamic load.
- Spring system: prefer designs with integrated covers or springs with less exposure. New designs prioritize reducing exposed parts to facilitate autonomous and safe use.
- Numbered or marked stopper options: facilitate protocol standardization and reduce configuration errors between instructors.
- Durable materials: certified Lyptus® FAS wood and stainless steel hardware, such as those incorporated in the MetaLife Reformer Advanced line, withstand intensive daily use without deformations that compromise safety.
- Availability of spare parts: ask the supplier about the delivery time for springs, straps, and stoppers. A supplier who does not guarantee spare parts in less than two weeks is an operational risk.
- Warranty and maintenance contract: look for clauses that specify technical response times and parts coverage. A warranty without a defined response time does not protect your operation.
Pro Tip: If you are equipping your first studio, studio packages with financing included allow you to access professional-grade equipment without compromising initial capital. The real cost of cheap equipment that fails after 18 months, coupled with downtime and replacement, often exceeds the initial price difference.
Key Points
Reformer room safety is based on systematic inspection, documented maintenance, and continuous team training; without all three, any protocol is incomplete.
| Point | Details |
|---|---|
| Mandatory pre-class inspection | Verify stopper, foot bar ("clack"), springs, and straps on each machine before each class. |
| Minimum spring always attached | Keep at least one medium resistance spring attached when the student is on the carriage to prevent abrupt movements. |
| Maintenance log as legal support | Royal Decree 486/1997 and NTP 577 require documenting inspections; this log is your protection against insurers and claims. |
| Instructor-to-student ratio adjusted to level | Maximum 6 students per instructor in advanced groups; 1 to 1 for new students or those with pathologies. |
| Continuous team training | Review safety protocols with your instructors at least every six months to keep criteria updated. |
| Pilates de México as a supplier with support | MetaLife equipment includes technical support, spare parts, and opening consultancy to integrate safety from day one. |
Integrated Safety is Not a Cost, It's an Operational Advantage
There's a recurring idea in studios that have been operating for years without serious incidents: safety isn't managed as a separate department, but as part of the daily workflow. When pre-class inspection is as automatic as turning on the lights, risk decreases without anyone having to be reminded.
What I find most relevant, and which generic manuals often ignore, is the direct connection between documented maintenance and client retention. A student who sees their instructor check the machine before each class perceives professionalism. That gesture, which takes three minutes, communicates more about the studio's quality than any marketing campaign.
The other underestimated point: civil liability is not only triggered by serious injuries. A minor fall without a record, a broken spring without documentation, an incident that "was resolved at the moment" without being noted, are exactly the cases that complicate claims against insurers. Systematic logging is not bureaucracy; it's the difference between resolving a problem in 48 hours or six months.
The templates in this article are designed to integrate into daily operations without adding administrative burden. Print them, place them in the studio, and assign a responsible person for each. That's all it takes to get started.
Equipment, Financing, and Consulting for Your Reformer Studio
Opening or expanding a studio with equipment that already includes technical support and guaranteed spare parts completely changes the maintenance equation. Pilates de México works with studios, gyms, and clinics that need equipment that lasts, not that requires constant attention.
The MetaLife Reformer Infinity line is built with certified Lyptus® FAS wood and stainless steel hardware, designed for years of daily classes. For studios just starting, equipment packages include direct financing and opening consulting, with a team that understands the real costs of setting up a studio. Review the available options at pilatesdemexico.com and request a proposal tailored to your studio's size and level.
Sources and Regulatory Resources
The following sources support the protocols and recommendations in this article. Consult them to delve deeper into the regulatory frameworks applicable in Mexico or to download reference documentation.
| Resource | Description | Type |
|---|---|---|
| INSST Guide: preventive management of facilities | Obligations of the facility owner according to Royal Decree 486/1997; basis for inspection logging | Mexican Regulation |
| NTP 577: safety and maintenance reviews | Verification and documentation procedures in accordance with the Law on Prevention of Occupational Risks | INSST Technical Note |
| Relationship between maintenance and safety | Arguments on preventive maintenance as a civil liability management strategy | Technical Article |
| How to get on and off the reformer safely | Equipment transition protocol and minimum spring rule | Practical Guide |
| Client placement on the reformer | Adjustment of stopper, tension bar, and foot bar verification | Instruction Guide |
| Safe strap placement | Strap adjustment procedure and student training in basic equipment management | Practical Guide |
Templates included in this article:
- Pre-class checklist per machine (section 4)
- Mid-shift review checklist with action table (section 4)
- Daily, weekly, monthly, and annual maintenance schedule (section 6)
- Quick incident report template (section 4)
For product support, technical specifications, and studio opening consulting, visit pilatesdemexico.com/es/certificaciones.
This article provides general operational and training information. For specific situations regarding civil liability or regulatory compliance, consult with an occupational risk prevention professional or a legal advisor specialized in your autonomous community.
Recommendation
- Zürich Labs Reformers — Pilates de México
- Studio Packages — Pilates de México
- Reformer Advanced — MetaLife Pilates
- Infinity Reformer with Tower — MetaLife
Why studios across Mexico equip with Pilates de México
- MetaLife reformers — our flagship line: manufactured in Brazil from Brazilian hardwood and the number one selling Pilates Equipment brand in all of South America, featured in over 40,000 studios. Pilates de México is the exclusive distributor of MetaLife in Mexico: local stock, local technicians and a 3-year frame warranty.
- Advanced and Infinity Reformers by MetaLife — the two MetaLife lines most studios in Mexico choose, with towers, accessories and studio-grade upholstery.
- Zürich Labs — our accessible alternative when the budget is tighter.
- Studio packages — complete studio setups, with discounts on packages of 5+ reformers.
- Financing — equipment financing so your opening budget goes further.
- Certifications and workshops — instructor training and continuing education.
We own and operate studios throughout Mexico, so the advice comes from operators, not resellers. Request a quote.