How to Set Up a Reformer Studio Without Space or Assembly Errors
How to Set Up a Reformer Studio Without Space or Assembly Errors
Measure before buying: you need the length of the Reformer plus 1.5 to 2 meters of margin for the room to function safely. Then decide whether a foldable model is suitable, ideal for multi-purpose spaces, or a fixed one for a dedicated room. Coordinate with your supplier for delivery and assembly support before the equipment arrives at your door, because that's where most projects lose time.
In summary:
- It is essential to leave between 1.5 and 2 meters of space around the Reformer to facilitate movement and safety during use.
- For a studio with several Reformers, it is recommended to have at least 80 to 120 square meters for eight to twelve machines.
- Ceiling height should be at least 2.8 meters if exercises with towers or vertical positions with high tension springs are planned.
- Prior assembly planning, including checking doors and access points, reduces costs and delays in delivery and the installation process.
- It is important to check all parts before assembly, ensuring there are no damages or missing components to avoid delays.
Table of Contents
- Space and measurements for setting up a Reformer studio
- Parallel, semicircle, or mixed: how to arrange your Reformers
- Assembly and logistics: what to prepare before the equipment arrives
- Safety and maintenance: avoid misalignment and breakdowns
- Checklist of materials and accessories before assembly
- How Pilates de México can help you with your studio
- Review and verification of parts before assembly
- Author's perspective: practical recommendations and errors to avoid
- Packages and models available at Pilates de México
- Resources to delve deeper into studio design and safety
- Sources
Space and measurements for setting up a Reformer studio
A Reformer measures approximately two and a half meters long, but that figure is not what you should use to plan your studio. The actual working length adds at least 50 extra centimeters at the headrest and footbar, because that's where extensions and arm movements occur, which many underestimate when measuring with a tape for the first time.
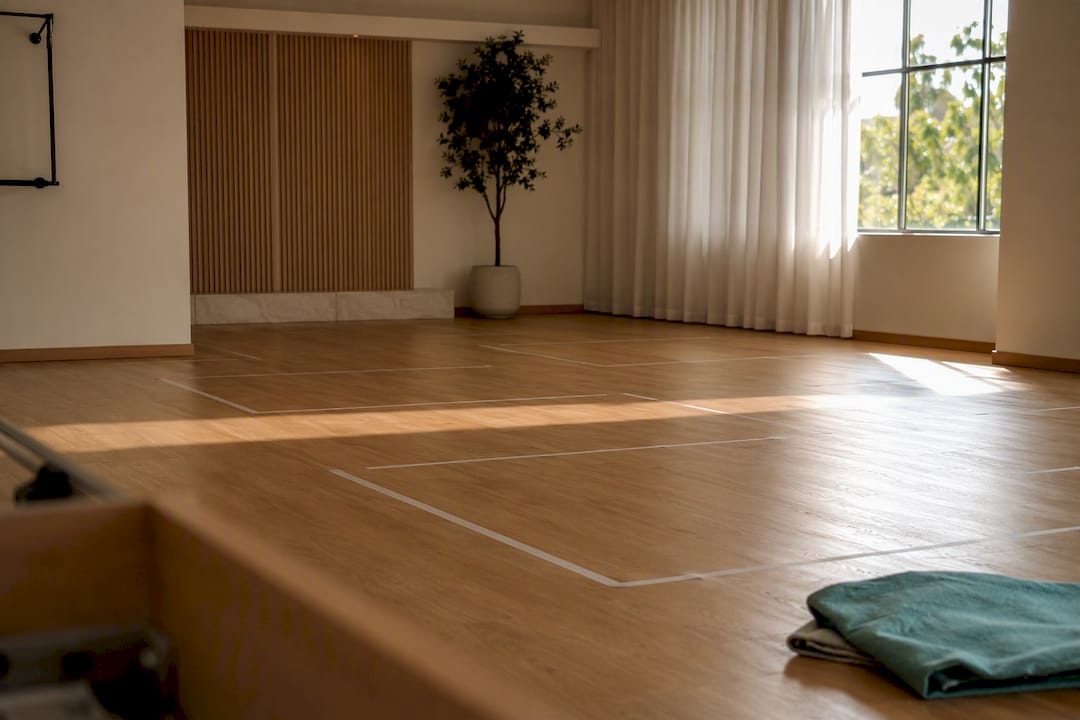
Before moving a single piece of furniture, mark the exact rectangle of the apparatus on the floor with adhesive tape and walk around it simulating a complete class. This test reveals traffic crossovers that a paper plan never shows.
- Leave between 1.5 and 2 meters of separation between each Reformer so that instructors and students can move freely.
- If you plan a commercial studio with several pieces of equipment, allow for 80 to 120 square meters for eight to twelve Reformers.
- Reserve a minimum ceiling height of 2.8 to 3 meters if you are going to install towers or standing exercises with high-tension springs.
Ceiling height is often the mistake no one checks until after the equipment has been purchased. A space with a 2.4-meter ceiling height can accommodate basic Reformers without a problem, but it completely limits vertical exercises with a tower.
Parallel, Semicircle, or Mixed: How to Arrange Your Reformers
The arrangement you choose determines how many students you can accommodate per class and how well your instructor can supervise them.
- Parallel: best utilizes space in rectangular rooms and facilitates orderly rows, ideal when you seek to maximize the number of machines per square meter.
- Semicircle: improves visual contact between the instructor and each student, a real advantage in intermediate or advanced classes where technical correction is constant.
- Mixed: combines both schemes when the premises have columns, niches, or irregular shapes that prevent a perfect grid.
As a practical rule, if you have fewer than six pieces of equipment and the instructor needs to see everyone at all times, the semicircle usually wins. With more than eight pieces of equipment, the parallel arrangement is almost always more space-efficient.
Assembly and Logistics: What to Prepare Before the Equipment Arrives
Reformer reception often goes wrong before assembly even begins. Confirm in advance the width of doors, the existence of an elevator, and whether access allows boxes weighing more than 60 kilograms to be brought up without disassembling them on the street. A narrow hallway or a spiral staircase can turn a simple delivery into a multi-hour odyssey.
A folding Reformer takes between 15 and 20 minutes to assemble, while a fixed wooden model can take between 45 and 60 minutes, especially if it's the first one you're assembling.
- Allen wrenches of various sizes and flat-head and Phillips screwdrivers.
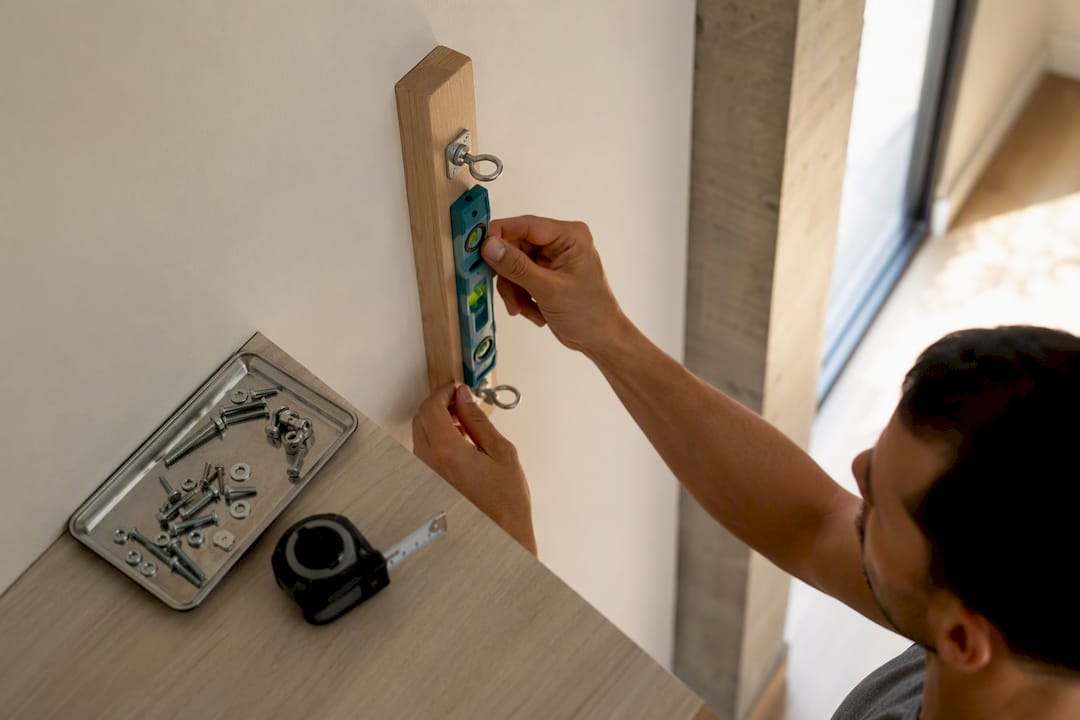
- Bubble level or laser to verify that the rail is perfectly horizontal.
- At least two people available, a third if the fixed model weighs more than 80 kilograms.
- Clear space of 3 by 3 meters around the assembly point to maneuver parts.
Professional Tip: Before the truck arrives, take photos of the entire access route (main door, hallways, elevator) and send them to your supplier. This way, they can confirm if you need to disassemble the equipment into smaller pieces or hire additional support for transport.
Safety and Maintenance: Prevent Misalignment and Breakdowns
A poorly leveled Reformer wears unevenly and generates noises that students interpret, rightly so, as a safety defect. Check the legs monthly with a bubble level and adjust any deviation before it turns into a major mechanical problem.
High-density protective mats reduce vibrations and prevent micro-displacements that, over time, unlevel the entire apparatus. Place them under each Reformer, not just in the general traffic area.
- Clean the rails with a dry cloth after each intense day of classes; accumulated dust accelerates carriage wear.
- Check the springs every three months and have replacements on hand, especially in studios with more than four daily classes.
- Establish a carriage locking protocol before the student gets on or off the apparatus.
- Train all personnel, not just instructors, on the signs of an incipient malfunction.
Poor initial leveling doesn't correct itself. It's the most common cause of asymmetrical wear on rails and springs, and it's often detected late because the noise appears gradually, not suddenly.
Checklist of Materials and Accessories Before Assembly
Gathering everything before the equipment arrives avoids awkward pauses in the middle of assembly. In addition to mechanical tools, your studio needs items that are often purchased later, when they should have been ready from day one.
- High-density protective mat for each Reformer.
- Complete tool kit (Allen wrenches, screwdrivers, level).
- Replacement springs and a basic cleaning kit for rails.
- Mirrors and adjustable lighting that multiply the perception of spaciousness in small rooms.
- Shelving or racks for bands, weights, and other support accessories.
- Storage space for the original packaging, useful if you need to move the equipment later.
Coordinate door-to-door transportation with your supplier from the initial quote. Resolving that logistical detail after purchase almost always costs more time and money.
How Pilates de México Can Help You with Your Studio
If you prefer not to resolve every technical detail on your own, we offer equipment packages, direct financing, and consulting for those opening their first room or expanding an existing studio. Consulting is often worthwhile when the location has atypical conditions (low ceilings, complicated access) or when you've never assembled a fixed Reformer before.
- Packages of various equipment with financing conditions adjusted to the project size.
- Proprietary technical guides on operational safety in the Reformer room that complement maintenance recommendations.
- Resources on how to decide between a Reformer or mixed format based on capacity and the type of clients you aim to serve.
If your project is small and the location is simple, setting up the room on your own with this guide is totally viable. Consulting makes sense when there are multiple pieces of equipment, financing involved, or a tight opening schedule.
Review and Verification of Parts Before Assembly
Opening the box and starting to assemble without checking first is the mistake that most delays an opening. Before touching a single tool, count each component against the packing list included by the manufacturer: carriage, rails, springs, footbar, straps, and hardware.

Visually inspect that no rail has dents or visible deformations from transport. A slightly bent rail might seem like a minor detail in the box, but it translates into a carriage that doesn't slide evenly and constant noise during classes.
Also, verify that the springs correspond to the specified tension for your model. Confusing springs of different resistance among several Reformers purchased at the same time is more common than it seems, especially when several identical boxes arrive on the same day.
If you purchased a package with a tower, confirm that the anchor points include all necessary hardware and that the structural reinforcement for the tower is compatible with your ceiling height before installing anything. Document any missing or damaged parts with photos on the day of delivery. Most reputable suppliers resolve replacements smoothly when the claim arrives within the first 48 hours, but it becomes more complicated after that period.
Author's Insight: Practical Recommendations and Mistakes to Avoid
The mistake I see repeated is underestimating ceiling height or logistical friction in delivery, not the room design itself. Prioritize instructor flow and ease of maintenance over immediate aesthetics. Start with a realistic growth plan: it's better to open with six well-maintained pieces of equipment than with twelve that no one checks.
Packages and Models Available at Pilates de México
We are the direct alternative to sourcing equipment from various suppliers piece by piece: here you buy the Reformer, coordinate delivery, and schedule assembly in a single process, without chasing invoices and warranties from multiple places.
The catalog includes models such as the Zürich Labs Reformer, designed for professional studios seeking long-term stability, and the Infinity Reformer with Tower for those already planning to incorporate vertical exercises from the start. Every purchase includes delivery, assembly support, and after-sales support, plus direct financing options for those opening their first studio or expanding an existing one.
If you have already measured your space and decided on the layout you need, the next step is to review the available packages and financing and request a quote based on the actual size of your room.
Resources for In-depth Room Design and Safety
To expand on the space and distance between equipment section, check out the Fitness Flow blog. For financing and initial steps to open your studio, consult Pilates de México's guide on packages for your first Reformer.
Sources
- Home Pilates Reformer | My Zen Universe
- What space do you need for a Pilates studio? - Discla Pilates