Complete Guide to Reformer Installation in Mexico
Complete Guide to Reformer Installation in Mexico
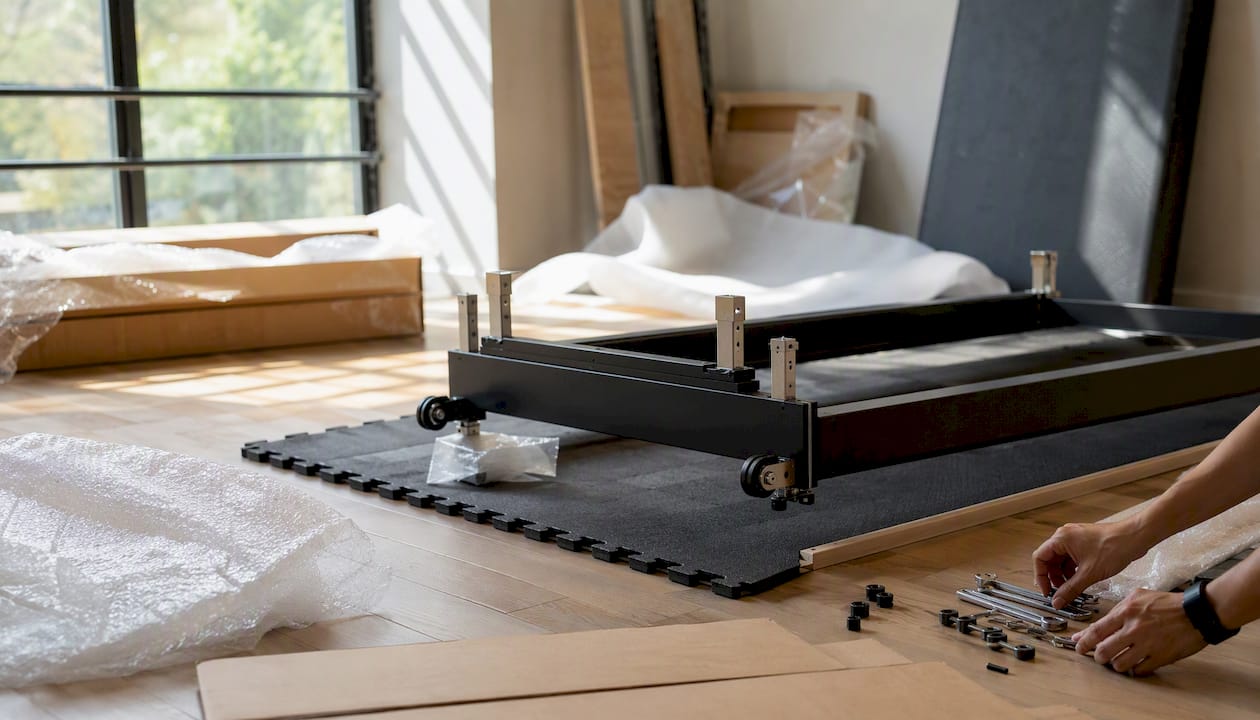
Yes, you can safely install a reformer, whether at home or in a studio, provided you have adequate space, basic tools, and a second person to maneuver the heavier parts. Foldable or compact reformers usually require less time, while models with towers or Cadillacs take longer due to their complexity. Before opening the box, review these minimum requirements.
- Clearance: at least several meters of adequate length and width for the equipment, plus the safety margins detailed below.
- Tools: Allen wrenches (many manufacturers include them), adjustable wrench, Phillips head screwdriver, and work gloves.
- Human assistance: a second person is essential for placing the carriage on the rails and handling the frame.
- Verified access: measure the width of doors, hallways, and staircases before the equipment arrives.
Hire professional installation if the reformer arrives unassembled, if access to the space is complicated (narrow stairs, no elevator, high floors), or if the model includes a tower with ceiling anchor.
Key Points
Safe reformer installation requires preparing the space, verifying each part before assembly, and completing load tests before the first use.
| Point | Details |
|---|---|
| Measure access and space | Check doors, hallways, and ceiling clearance before the equipment arrives, not afterward. |
| Protect the floor | Use a high-density mat under the frame to protect the finish and reduce vibrations. |
| Inventory parts | Cross-reference each component with the manual before starting; photograph any damage for warranty purposes. |
| Mandatory load test | Perform static and dynamic tests before the first actual use; stop assembly if there are noises or jolts. |
| Pilatesdemexico | Offers MetaLife equipment with local support, installation packages, and direct financing in Mexico. |
Table of Contents
- What should you prepare before starting the installation?
- Unpacking and Inventory: Check Parts Before Assembly
- Step-by-step Assembly: Frame and Carriage of a Standard Reformer
- How to install the tower and Cadillac-type accessories?
- Safety Checklist Before First Use
- Practical Adjustments According to User: Height, Resistance, and Positioning
- Periodic Maintenance and Troubleshooting Common Issues
- Safe Disassembly for Maintenance, Transport, or Storage
- Reliable Resources and Professional Options in Mexico
- What Nobody Tells You About Installing a Reformer for the First Time
- PilatesdeMexico: Equipment with Installation Support in Mexico
- Sources
What Should You Prepare Before Starting the Installation?
The most expensive mistake in Pilates equipment installation doesn't happen during assembly; it happens beforehand, when the equipment has already arrived and the space isn't ready. Dedicate 30 minutes to this phase, and you'll avoid hours of delays.
Measurements and Safety Margins
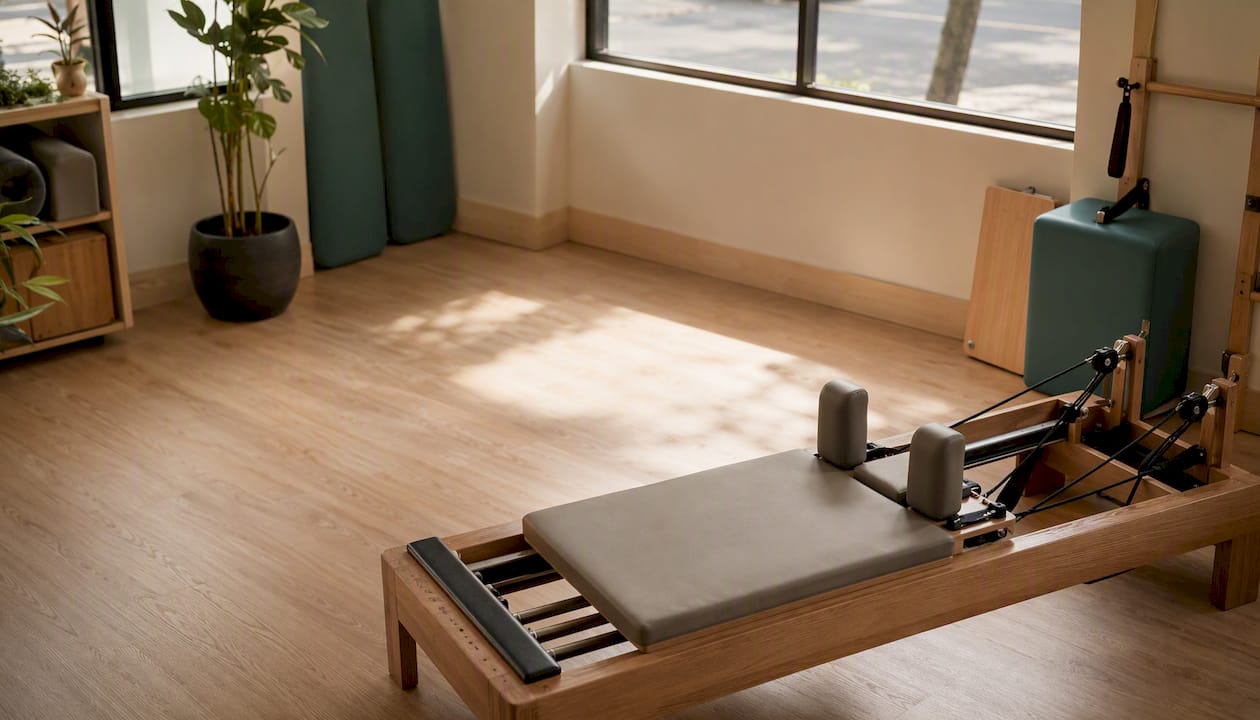
A standard reformer measures approximately two and a half to two meters sixty in length. The home reformer space guide recommends leaving at least 50 cm clear at the head and foot of the equipment for the practitioner to move safely. Leave enough space on each side for arm extension in lateral exercises. If the model includes a tower, verify that the ceiling clearance is high enough to accommodate the equipment's height and its extended springs.
Floor Conditions
| Floor type | Recommended action | Priority |
|---|---|---|
| Hardwood or laminate | High-density mat under the frame | High |
| Concrete or ceramic | Anti-slip mat and leg protectors | High |
| Thick carpet | Verify leveling with a spirit level | Medium |
| Studio technical floor | Check maximum load per m² | Medium |
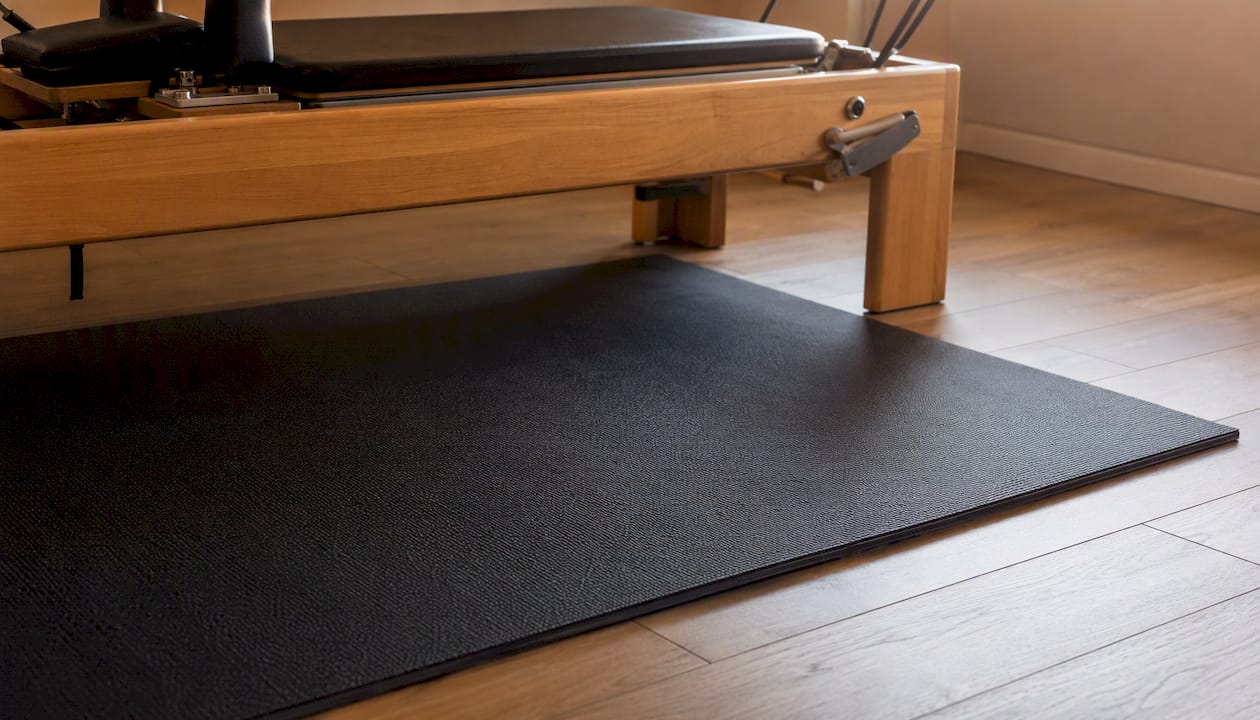
The high-density mat serves two functions: it protects the floor finish and reduces vibrations during use. For studios with high user turnover, a vulcanized rubber mat of at least 8 mm is the most durable option. You can find floor protection accessories designed for this type of equipment.
Tools and Access
Before delivery, measure the width of every door and hallway through which the packaged reformer will pass. A reformer in its box can exceed 90 cm (35 inches) in width. If access is via stairs, coordinate with the supplier to confirm if the service includes delivery to your home or if it's curb-side only, as this difference affects both logistics and cost.
Pro tip: Place marking tape on the floor from the entrance to the installation point. Protect wall corners with cardboard. Two minutes of preparation can prevent scratches and bumps that later cost more than the assembly itself.
Unpacking and Inventory: Check Parts Before Assembly
Opening the box haphazardly is the second most common cause of delays. A lost part amidst the foam packing can cost hours of searching or an unnecessary call to technical support.
Use a utility knife with the blade retracted to a minimum to cut the outer packaging without scratching the frame. Place the parts on a clean, flat surface, grouped by category: frame, carriage, hardware, and accessories.
Typical Inventory of a Standard Reformer
| Component | Description | Check |
|---|---|---|
| Main frame | Side and longitudinal structure | No twists or splinters |
| Carriage | Sliding platform with wheels | Wheels rotate smoothly, no cracks |
| Rails or tracks | Profiles along which the carriage slides | Straight and without dents |
| Footbar | Foot bar with adjustable positions | Anchors and safety pins present |
| Springs | Set of springs for resistance | Hooks without deformation |
| Pulleys and ropes | Force transmission system | Pulleys rotate, ropes not frayed |
| Shoulder rests | Padded side blocks | Complete pair of blocks |
| Hardware and kit | Bag with screws, nuts, and wrenches | Compare with manual's list |
The UNIVERSAL REFORMER manual includes parts identification diagrams that facilitate this inventory. For compact aluminum models, the COMPACT REFORMER details specific tolerances and notes on hinges or telescopic rails; check the robustness of these hinges before proceeding, because a loose hinge generates jumps in the carriage during use.
If you detect damaged parts, photograph the damage along with the equipment's serial number and keep the original packaging. Most warranties require photographic documentation to process claims.
Pro tip: Label each hardware bag with paper tape and a marker before opening it. When assembling several reformers consecutively, mixed hardware is the most frequent source of error.
Step-by-step Assembly: Frame and Carriage of a Standard Reformer
Follow this numbered sequence. Do not skip steps: each one prepares the safety condition for the next.
-
Position the frame and check the level. Place the frame in its final position before adding any parts. Use a spirit level on the longitudinal profile. Adjust the leveling feet until the bubble is centered on both axes. An unlevel frame causes asymmetrical carriage wear and noise during use.
-
Install the carriage onto the rails. With the help of a second person, lower the carriage onto the rails with the wheels aligned. Slide it manually from end to end: the movement should be smooth, with no points of resistance or lateral deviation. If the carriage deviates, check the rail alignment before continuing. The Byron Bay Pilates guide documents this sequence and indicates the minimum tools for each step.
-
Install the footbar and shoulder rests. Insert the footbar into its anchors and secure it in the middle position. Tighten the screws with the Allen key until there is no play, but do not exceed the torque indicated in the manual. Place the shoulder rests on the side rails and ensure both are at the same height and distance from the carriage edge.
-
Attach the springs. Hook the springs starting with the highest resistance ones (generally red or yellow, depending on the manufacturer). Work symmetrically: one spring on each side before moving to the next. Never stretch a spring with bare hands; use gloves and keep your face away from the tension axis. Check that each hook is fully seated in its anchor before releasing.
-
Install pulleys, ropes, and straps. Thread the ropes through the pulleys following the diagram in the manual. Verify that both sides have the same free length from the pulley to the handle. An asymmetry of more than 2 cm affects exercise balance and can lead to postural compensations in the user.
Pro tip: Before the first load test, sit on the edge of the carriage and push with your hands towards the stoppers. If you hear a click or feel a jump, stop and check the spring anchors. A poorly hooked spring under load can detach forcefully.
How to install the tower and Cadillac-style accessories?
The tower converts a standard reformer into a vertical workout apparatus, but it adds complexity to assembly and structural requirements that not all spaces meet.
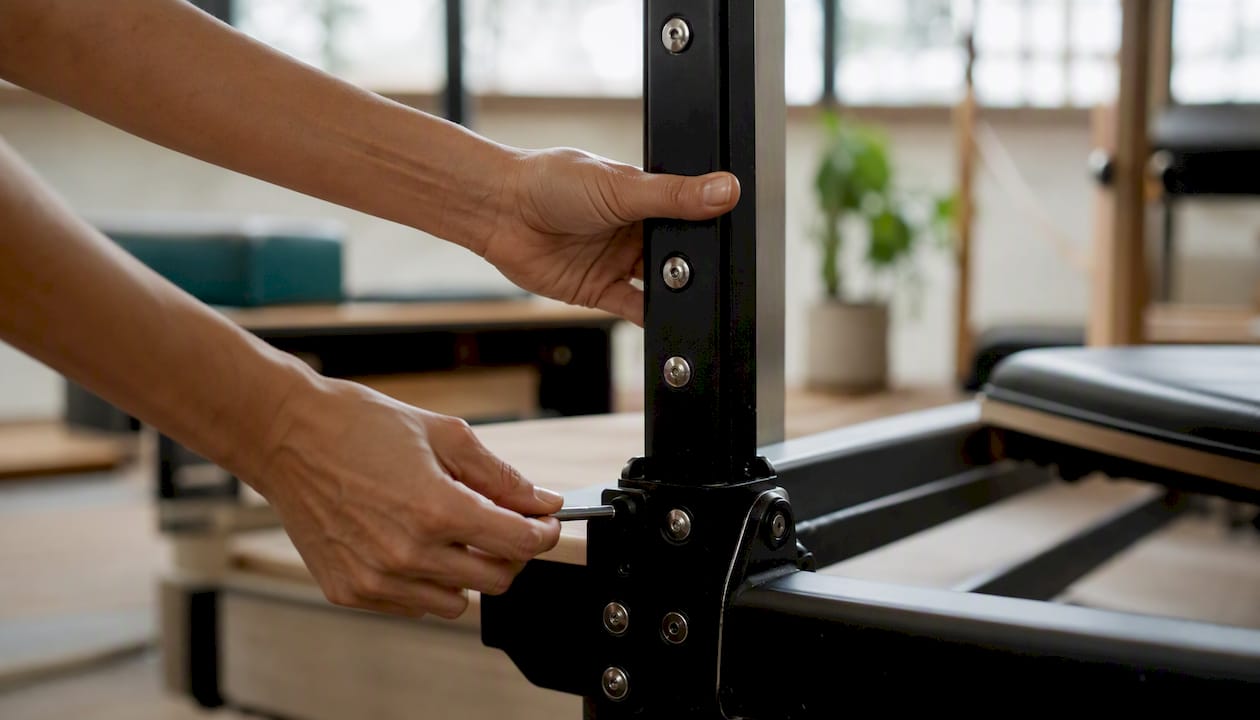
Before assembling any vertical accessory, confirm that your model supports it. A folding reformer rarely supports a full tower; models with a fixed solid wood structure, such as those from the MetaLife Infinity line, are designed to withstand vertical load and high spring anchors. MetaLife's certified Lyptus® FAS wood and stainless steel hardware directly influence the tower's stability under dynamic load.
The recommended assembly order is: first the vertical structure (posts), then the top bar, then the tower springs from bottom to top, and finally the pulleys and trapeze. Tighten each anchor before moving to the next level; assembling the entire structure and tightening at the end creates uneven tension in the screws.
Pay special attention to the tower spring anchors: they work under vertical tension and support full body weight. If the model requires ceiling or wall anchoring, do not install it without consulting a technician. Drilling without knowing the ceiling structure can compromise the safety of the entire installation.
Pro tip: If you are assembling a tower for the first time, ask the manufacturer or supplier for the specific assembly video for that model. Paper diagrams do not always show the correct angle for inserting the top bar pins, and a poorly seated pin is invisible until it fails under load.
Safety Checklist Before First Use
Do not use the reformer until you have completed these checks. An installation that appears correct may have a failure point that only appears under actual load.
- Carriage slide: Move the carriage by hand along the entire length of the rails, without springs. The movement should be completely silent and without irregular resistance.
- Spring symmetry: Visually check that all hooked springs are at the same height and tension. A twisted spring or one with a partially seated hook is an immediate risk.
- Screw tightening: Go over each screw on the frame, footbar, and stoppers with the Allen key. If any yield more than a quarter turn, tighten it and note its position for review during the first maintenance.
- Static load test: Sit in the center of the carriage with your weight distributed and gently push against the stoppers. There should be no lateral movement or structural noise.
- Dynamic load test: Perform three repetitions of a basic exercise (e.g., footwork in a neutral position) with a single spring. Listen and feel: no creaking, no jumping, no abnormal vibrations.
- Brake and stoppers: Verify that the end-of-travel stoppers halt the carriage before the wheels come off the rails.
- Installation record: Note the assembly date, equipment serial number, and technical support contact. Keep this information with the manual.
Practical Adjustments Based on the User: Height, Resistance, and Positioning
A well-assembled reformer is just the starting point. Adapting it to each user determines whether the equipment works with the body or against it.
For users with long legs (over 5'11" / 1.80 m), the highest position is usually the starting point; for shorter users, the middle or low position. Mark frequently used positions in group classes with colored tape: this saves time between students and reduces the risk of rushed adjustments.
Spring selection deserves special attention. Combining springs of different resistances is common, but never mix springs in good condition with springs showing deformation, corrosion, or loss of elasticity. A damaged spring under load can detach or break. Remove it from the equipment as soon as you detect it and replace it with one of the same gauge and manufacturer.
For group classes with quick rotation, establish a standard configuration by level (beginner, intermediate, advanced) and post it on a sign next to the equipment. Instructors should not modify the frame structure or drill any part without consulting the manufacturer or supplier: such modifications void the warranty and can compromise structural integrity.
Pro Tip: In studios with multiple reformers, assign a number to each machine and keep a log of each instructor's preferred settings. When a piece of equipment starts needing more frequent adjustments than others, it's the first sign of accelerated wear.
Periodic Maintenance and Common Troubleshooting
Preventive maintenance for a reformer is cheaper than any corrective repair. A clear and consistent schedule keeps the equipment in optimal condition for years.
Recommended Maintenance Schedule
| Frequency | Task | Tool |
|---|---|---|
| Weekly | Clean rails with dry cloth; visually inspect springs | Microfiber cloth |
| Monthly | Lubricate rails with silicone spray; check bolt tightness | Silicone spray, Allen wrench |
| Quarterly | Inspect springs for deformation or corrosion; check pulleys and ropes | Gloves, flashlight |
| Annually | Complete inspection of hardware, upholstery, and carriage wheels | Wrench set, level |
Common Issues and Quick Diagnosis
- Noise in guides: Almost always indicates lack of lubrication or accumulated dirt. Clean the rails with a dry cloth and apply silicone spray. If the noise persists, check for cracks in any carriage wheel.
- Misaligned carriage: The carriage veers to one side during gliding. Check that the rails are parallel with a tape measure; a difference of more than 2 mm requires frame readjustment.
- Loss of spring tension: If a spring no longer offers the expected resistance, it has lost elasticity. Do not try to compensate by adding more springs; replace it.
- Footbar creaking: Check the tightness of the anchoring screws. If the creaking persists with tightened screws, there may be wear in the position adjustment mechanism.
Stop using the equipment if you detect a spring with an open hook, a frayed rope, or a structural screw that won't stay tight. These failures are not resolved with continued use.
For spare parts, always keep at least one set of replacement springs and a pair of carriage wheels in stock. The accessories and spare parts available at Pilatesdemexico cover the most common consumable parts for MetaLife models and other lines.
Safe Disassembly for Maintenance, Transport, or Storage
Disassembling a reformer in the wrong order can damage the guides, strain the screws, or leave the springs under residual tension, which poses a real risk when reopening the packaging.
The correct sequence is the reverse of assembly: first, remove the straps and ropes from the pulleys, then unhook the springs starting with the lowest resistance ones, next disassemble the footbar and shoulder rests, and finally lift the carriage off the rails with the help of a second person. Leave the frame for last.
Store screws in airtight bags labeled by section (frame, footbar, stoppers). Springs should be stored extended and without tension, never coiled or stacked under weight. Pulleys and ropes go in a separate bag to prevent tangles.
For internal transport, use a platform cart and protect the guides with foam or cardboard. Always lift from the frame, never from the rails, to avoid deforming them. If storage is prolonged (more than two months), apply a thin layer of silicone to the rails before storing the equipment.
Pro Tip: Photograph the assembled equipment from several angles before disassembling it. These photos are your quickest reference when you reassemble it, more useful than any manual diagram.
Reliable Resources and Professional Options in Mexico
Having verified technical documentation and local support makes the difference between a safe installation and one that generates doubts from day one.
Available Technical Documentation
- The REFORMER UNIVERSAL manual covers the main frame, carriage, and spring system with detailed diagrams.
- The REFORMER COMPACT is the reference for foldable aluminum models, with assembly diagrams and tolerance notes.
- The product sheet for the Infinity Reformer with MetaLife Tower includes material specifications, warranty options, and direct technical support contact in Mexico.
Professional Services in Mexico
Pilatesdemexico offers installation consulting, equipment packages, and direct financing for studios, gyms, and clinics. Studio packages include on-site assembly options and advice for space distribution. The service covers everything from delivery to the first load test, with after-sales support in Mexico.
When evaluating a professional installation service, verify whether delivery includes home delivery or just curbside delivery, because this difference affects both cost and timelines. Services like those documented by Fitness Tech clearly detail these conditions; ask any provider for the same before confirming.
To register your equipment and activate the warranty, do so as soon as assembly is complete. Pilatesdemexico manages after-sales support for the MetaLife line directly from Mexico, without international intermediaries.
What No One Tells You About Installing a Reformer for the First Time
Most articles on reformer installation focus on the technical steps. What rarely appears in writing is the recurring error pattern in almost all first installations: the space is measured, but access is not.
Measuring the room where the reformer will go is the obvious step. Measuring the width of the packaging, the turning radius on the staircase landing, and the elevator's clear height is the step that is forgotten. When the equipment arrives and doesn't fit through the door, the problem isn't the reformer: it's the planning. Checking the packaging dimensions before delivery prevents most of these delays.
The second most frequent mistake is assembling alone. A solid wood reformer like those in the MetaLife line, built with Lyptus® FAS and stainless steel hardware, weighs enough that placing the carriage on the rails without help poses a real risk to your back and to the rails. Two people and an extra 15 minutes are always a better investment than an injury or a bent rail.
For studios with high user rotation, the most practical advice is to label the hardware from the first assembly. When it's time for the first maintenance or to move the equipment to another room, that label saves 20 minutes of checking and eliminates the risk of mixing screws of different gauges.
Pilatesdemexico: Equipment with Installation Support in Mexico
Assembling a reformer on your own is feasible when the equipment is well-documented and the space is prepared. When the project involves multiple pieces of equipment, a new room, or a model with a tower, the value of a professional installation service pays for itself within the first week of classes.
Pilatesdemexico supplies the MetaLife line, built with Lyptus® FAS wood and stainless steel hardware, along with more accessible professional options for studios just starting out. Each purchase includes space distribution consulting, direct financing options, and after-sales support from Mexico, without relying on international support. Studio packages cover everything from a single reformer to the complete outfitting of a room, with on-site assembly available depending on the package. Request your quote at Pilatesdemexico and receive a proposal tailored to your space and budget.
Sources
Technical manuals are the authoritative reference for any installation. A good manual includes: numbered parts identification, assembly diagrams with exploded views, recommended torque values per screw, and material certifications.
- REFORMER UNIVERSAL
- REFORMER COMPACT
- Miuniversozen
- Byron BAY PILATES Pilates Studio Reformer Installation Guide
For assembly videos, request them directly from your supplier at the time of purchase. Pilates de México provides reference videos for MetaLife models as part of post-purchase support. If your model is from another line, search for the manufacturer's official video using the exact model number found on the frame label.